Hourglass Shaped Wort Chiller
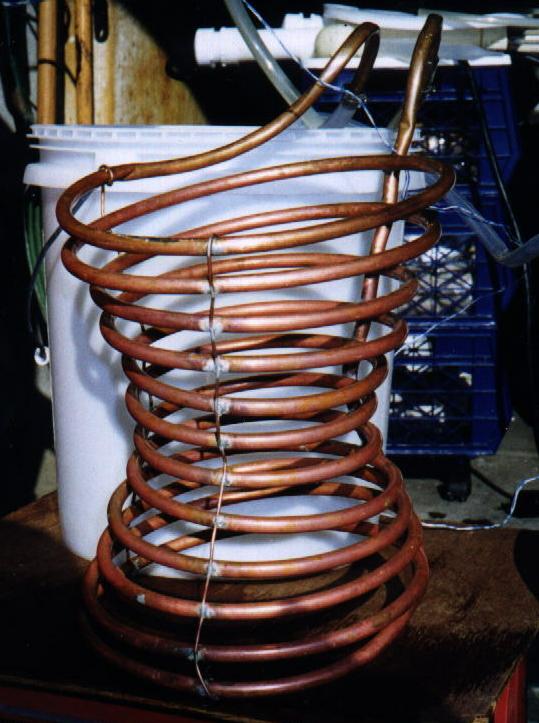
This is a photo of the “hourglass” shaped chiller I use. It is shaped this way because it was easiest to make. I also believe that is cools better than the cylindrical type because it is better distributed throughout the wort. To improve efficiency, I jog it up and down 3 or 4 times every 2-3 minutes.
I said it was easiest to make this way because of
the way the tubing was packaged. It
comes sort of spiral wrapped. Imagine
the tubing laying flat on the floor. It
is coiled, spiraling inward to the center.
Then, it moves up one tubing width and spirals outward. To make this shaped chiller, you just have
to pull the coils apart like an accordion.
To keep its shape, I soldered (using lead free solder) two lengths of
#14 copper house wire across the coils.
The wires are place about 120 degrees apart around the chiller. At the third 120 degree point I uncoiled a
length of the tubing and bent it (using a spring style tubing bender) so it came
from the bottom of the chiller to the top.
I soldered it at each point where it contacted the coils. It is visible in the photo, up the back, on
the right.
Originally, I hooked the tubing so it went over the
edge of my brewing bucket. I found that was more of a pain then it was
worth. I cut off the ends that rolled
over so the inlet and outlet face straight up.
If you have any suggestions, email me at the link below after removing the "NoSpam_":